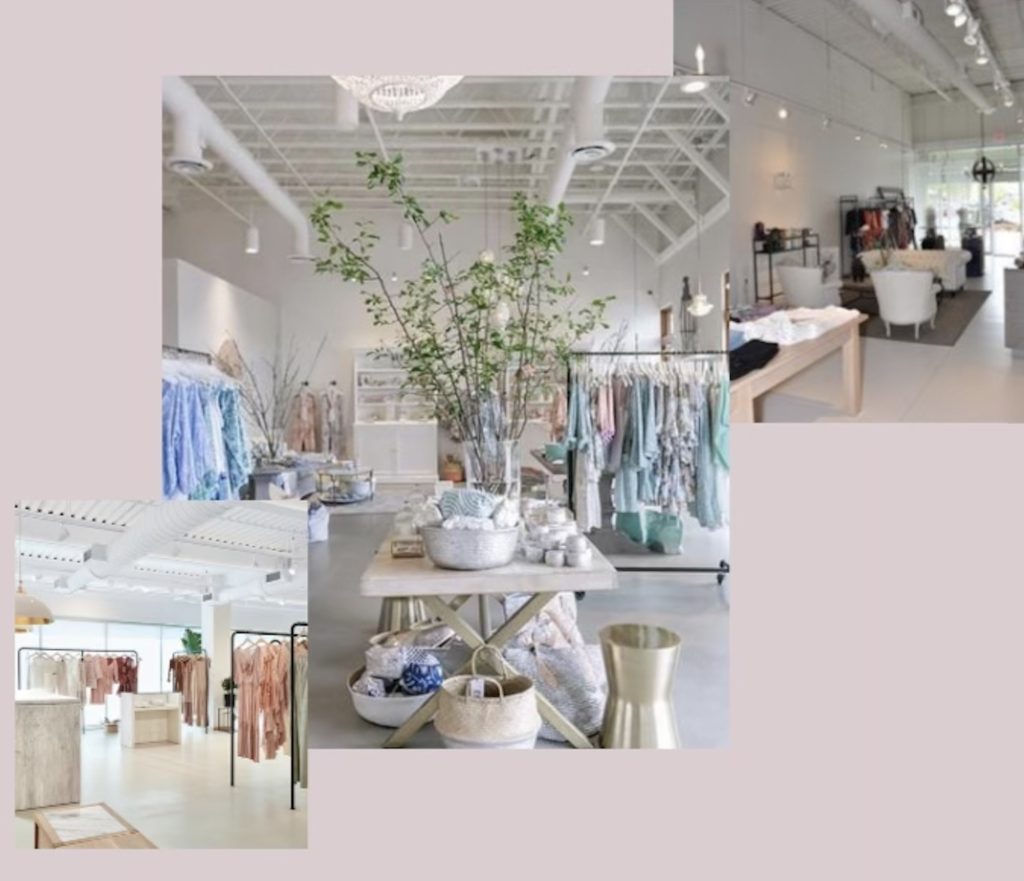
Polished concrete or microcement are very popular floorings for high traffic areas such as retail store. Many lovers of modern interiors dream about a beautiful, industrial concrete floor. Our client Penny had the same vision for her first retail store in Toronto. She wanted white polished concrete finished floors in her new Grit & Grace women clothing store at 170 Ossington Avenue in Toronto.
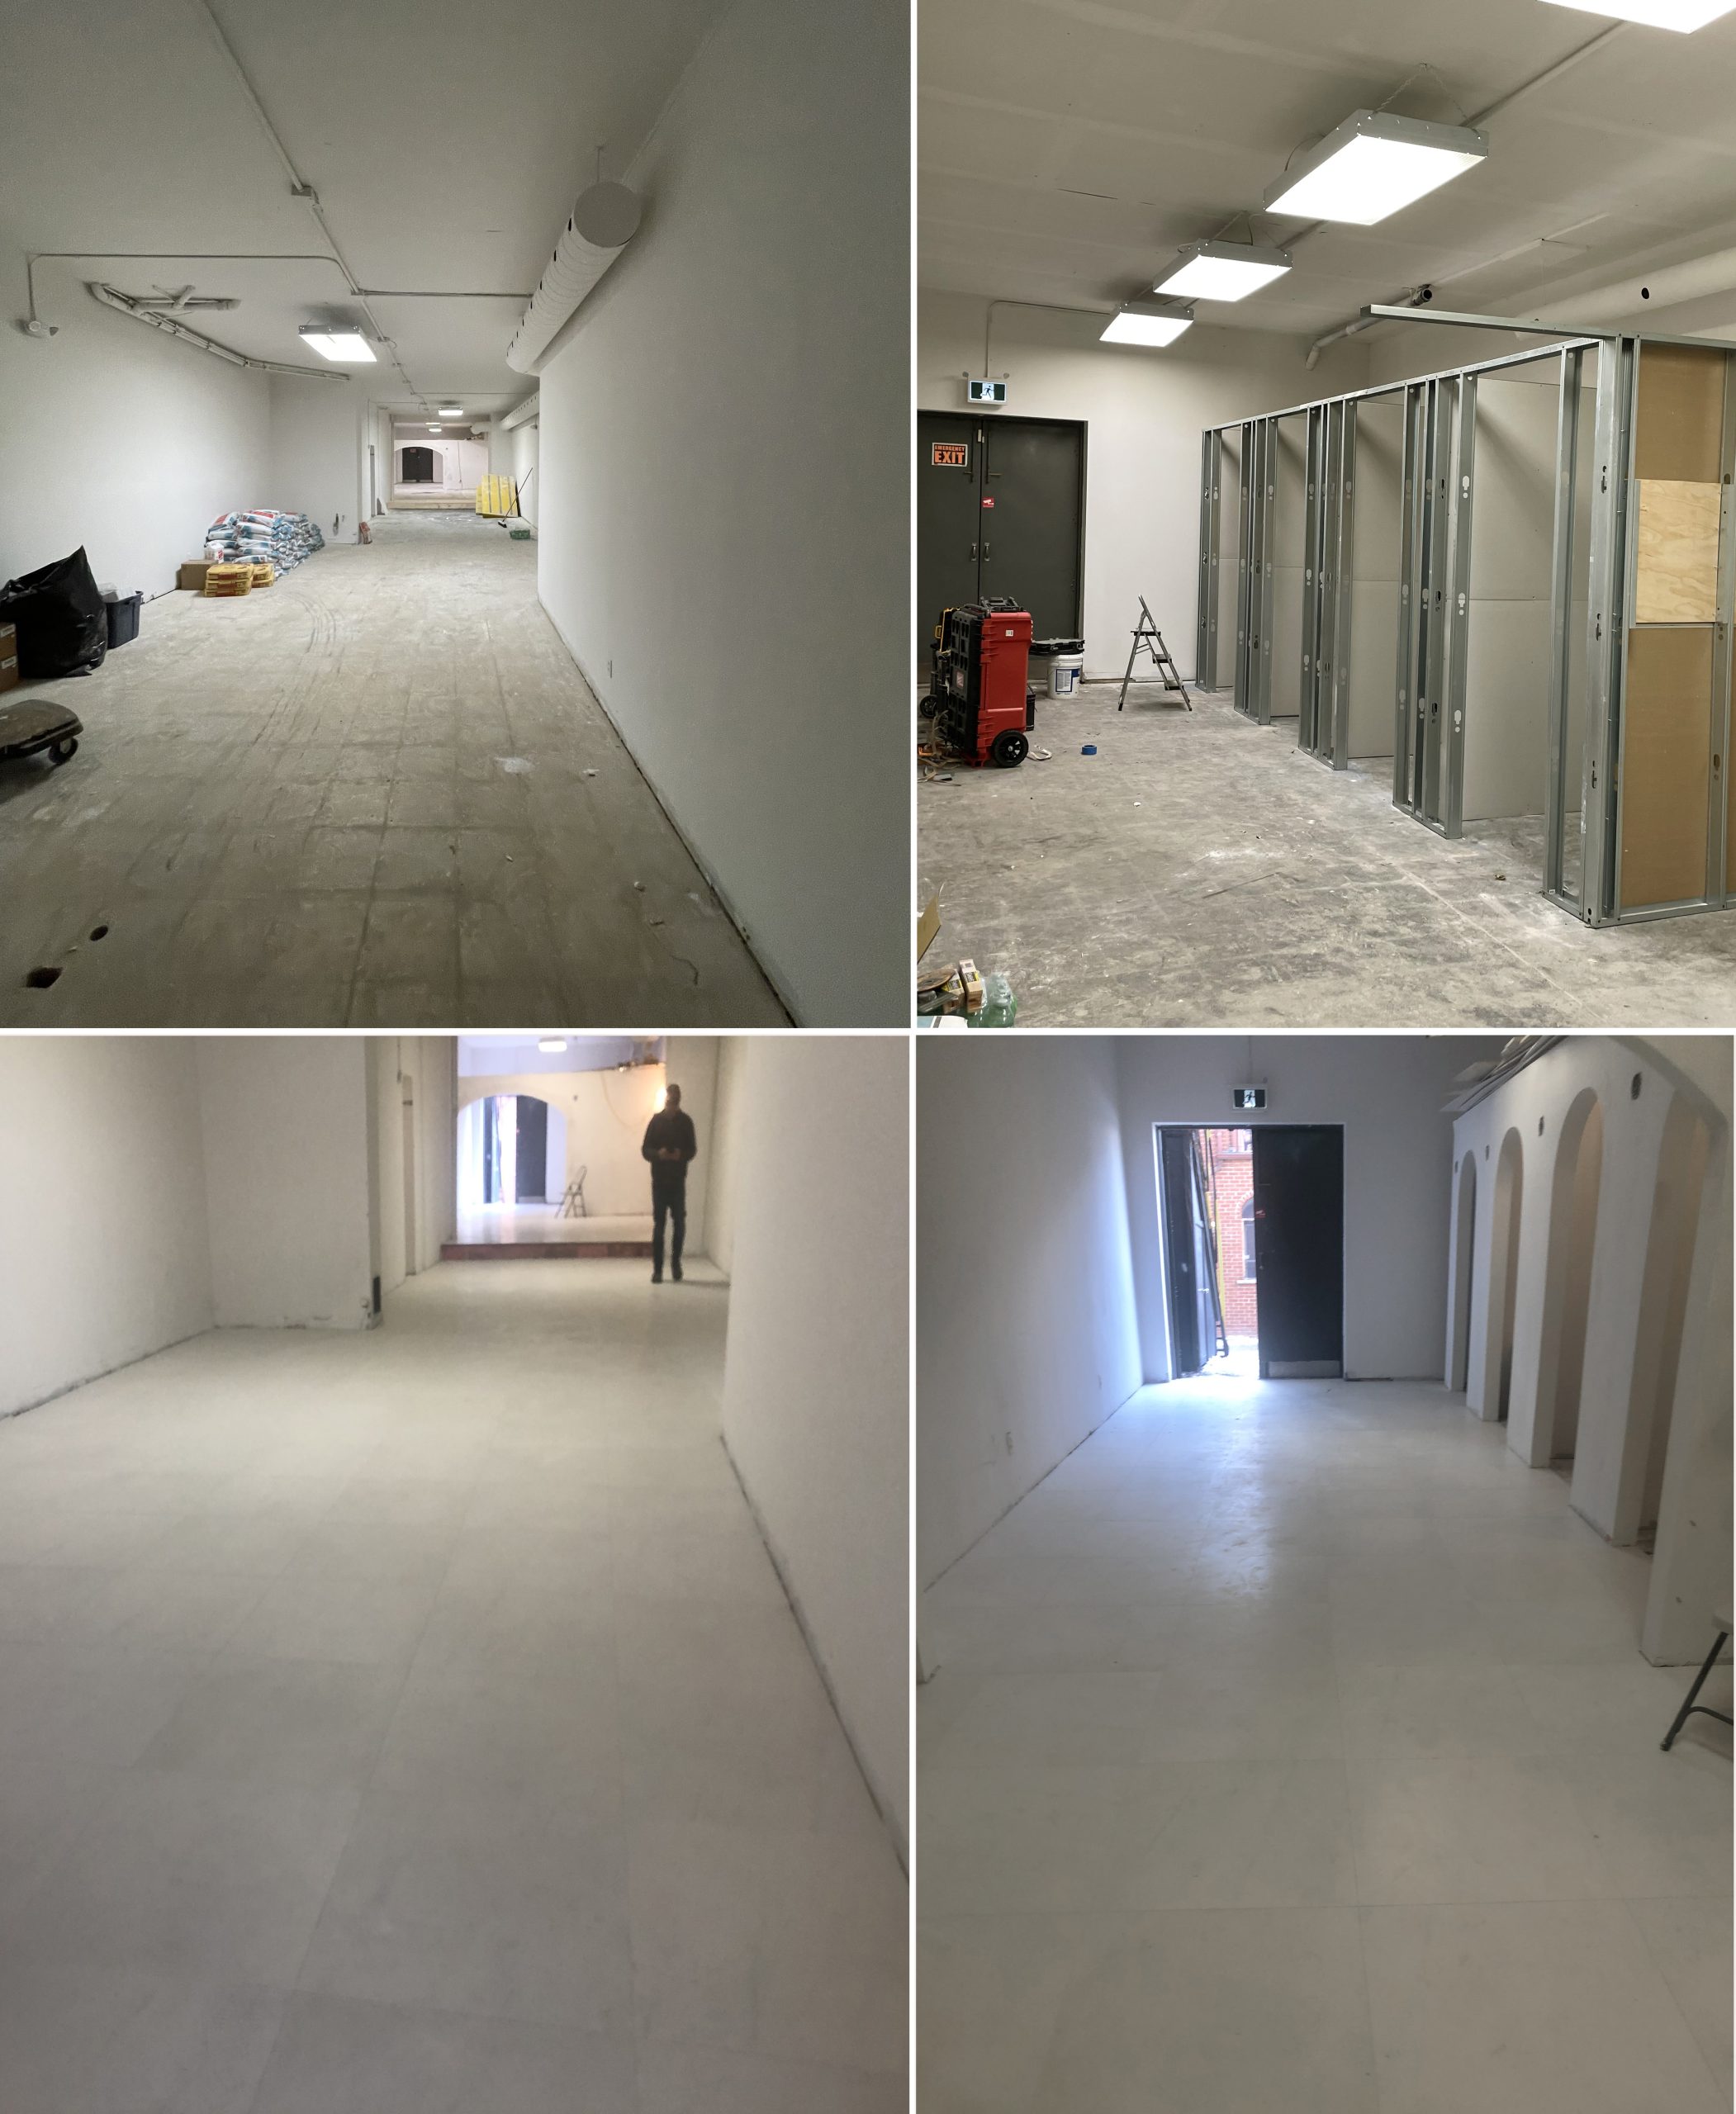
However, turning old Home Hardware store floor into perfectly smooth and shiny white floor was not that easy. Due to subfloor condition, including very uneven floor surface polished concrete would be not only be costly solution but also would also take few more weeks to be ready for use. Our clients needed quick (7-8 days transformation). Large format porcelain tile that mimics polish concrete look was a perfect solution.

Search for right product for a good price took few days. We were looking for performance (certain type of porcelain that could be specified for high traffic areas), look (polished cement) but not high gloss finish that could cause safety issues and price that fits customer budget. We worked with almost all Toronto tile retailers to get us samples and check availability of quantity we need (approx. 2000 sq.ft). We presented 10 samples to customers, and we all loved the look, features, and price of one 24×24’’ Italian through body porcelain product by Florim Ceramiche.

After decision on the product was made work on subfloor preparation started. Old Home Hardware store floor used to have so-called VCT tiles (vinyl composition tiles). Old fashion 12×12’’ tiles from 70’s and 80’s that used to be installed in high traffic areas such as schools or big box stores. In front of the store was laminate floor.

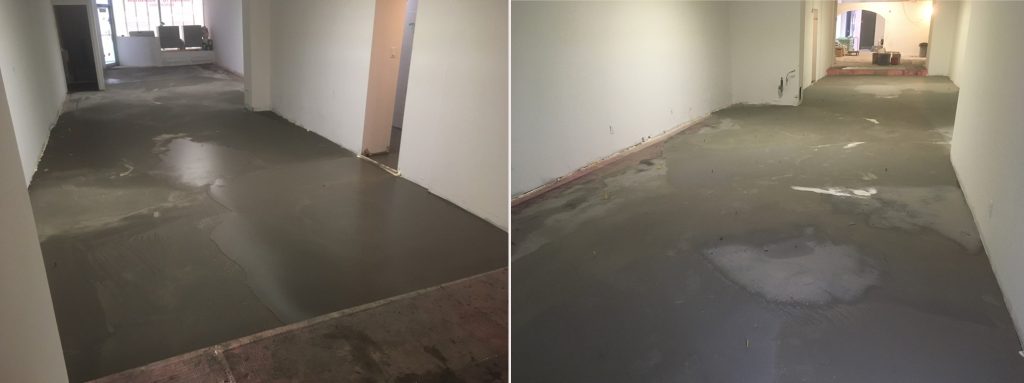
After the demolition we realised subfloor was made of plywood in some areas and concrete in others. That would require meshing before adding the more cement material to get the surface leveled. In some areas floor was 2’off. To level the floor and prepare the surface for tile installation we used combination of dry floor leveling mix Sakrete (so called dry pack) and Self-leveling underlayment Ultraplan 1 Plus. High-performance quick-setting self-leveling underlayment before installing ceramic tiles, natural stones and floor covering materials. Prior to application of underlayment surface was primed with appropriate Mapei primer.
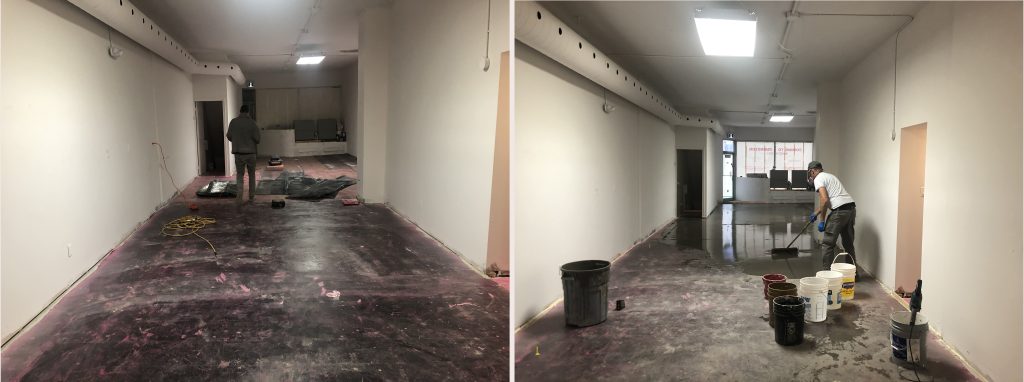
After the full day of work on meshing, priming and self-levelling we got perfect subfloor to start tiling.
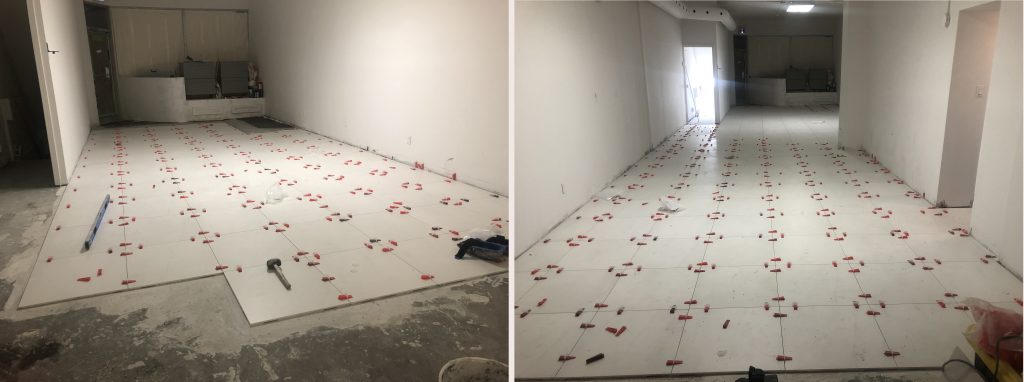
Day 3: Tiling started and in the next 6 days entire space floor (1680 sq.ft) was fully tiled with 24×24’’ porcelain tiles.
Day 6: Upper-level store tilling
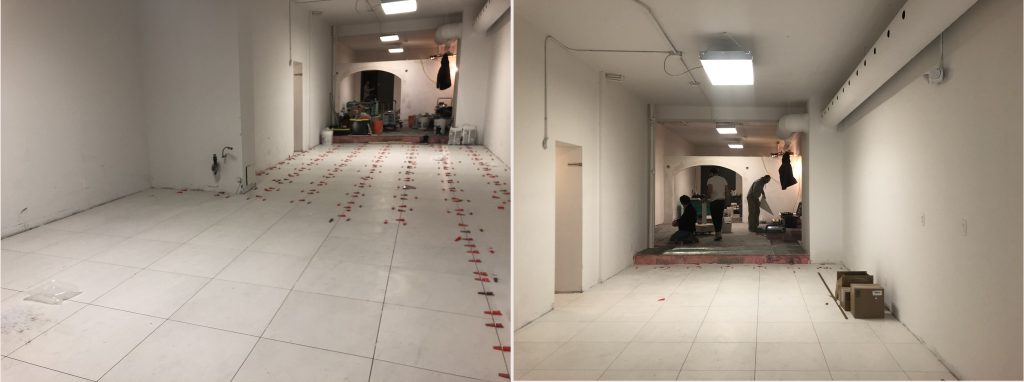
Day 8-Final day: Grouting
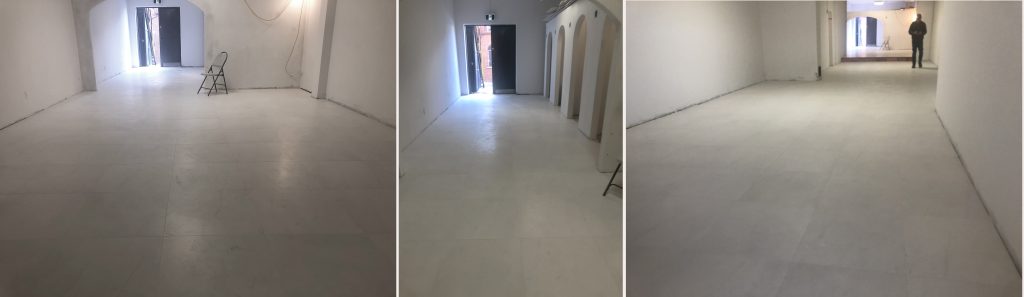
To achieve white polished cement look and ensure grouts will stay clean white for longer we used special Mapei Flexcolor CQ Grout with color-coated quartz. its dense composition helps to prevent water-based stains by providing water repellency to the grout surface and hopefully the store will have clean white polished cement look for many years. Through-body porcelain is excellent material choice and this flooring installation will have perfect performance in the terms of durability and maintenance as well as very appealing look that satisfying customer vision for the space and general contractor’s timeline to finish all work on this store for few weeks.
Leave a Reply